English
 Español
 русский
What Is an Engine Low-Pressure Oil Pipe
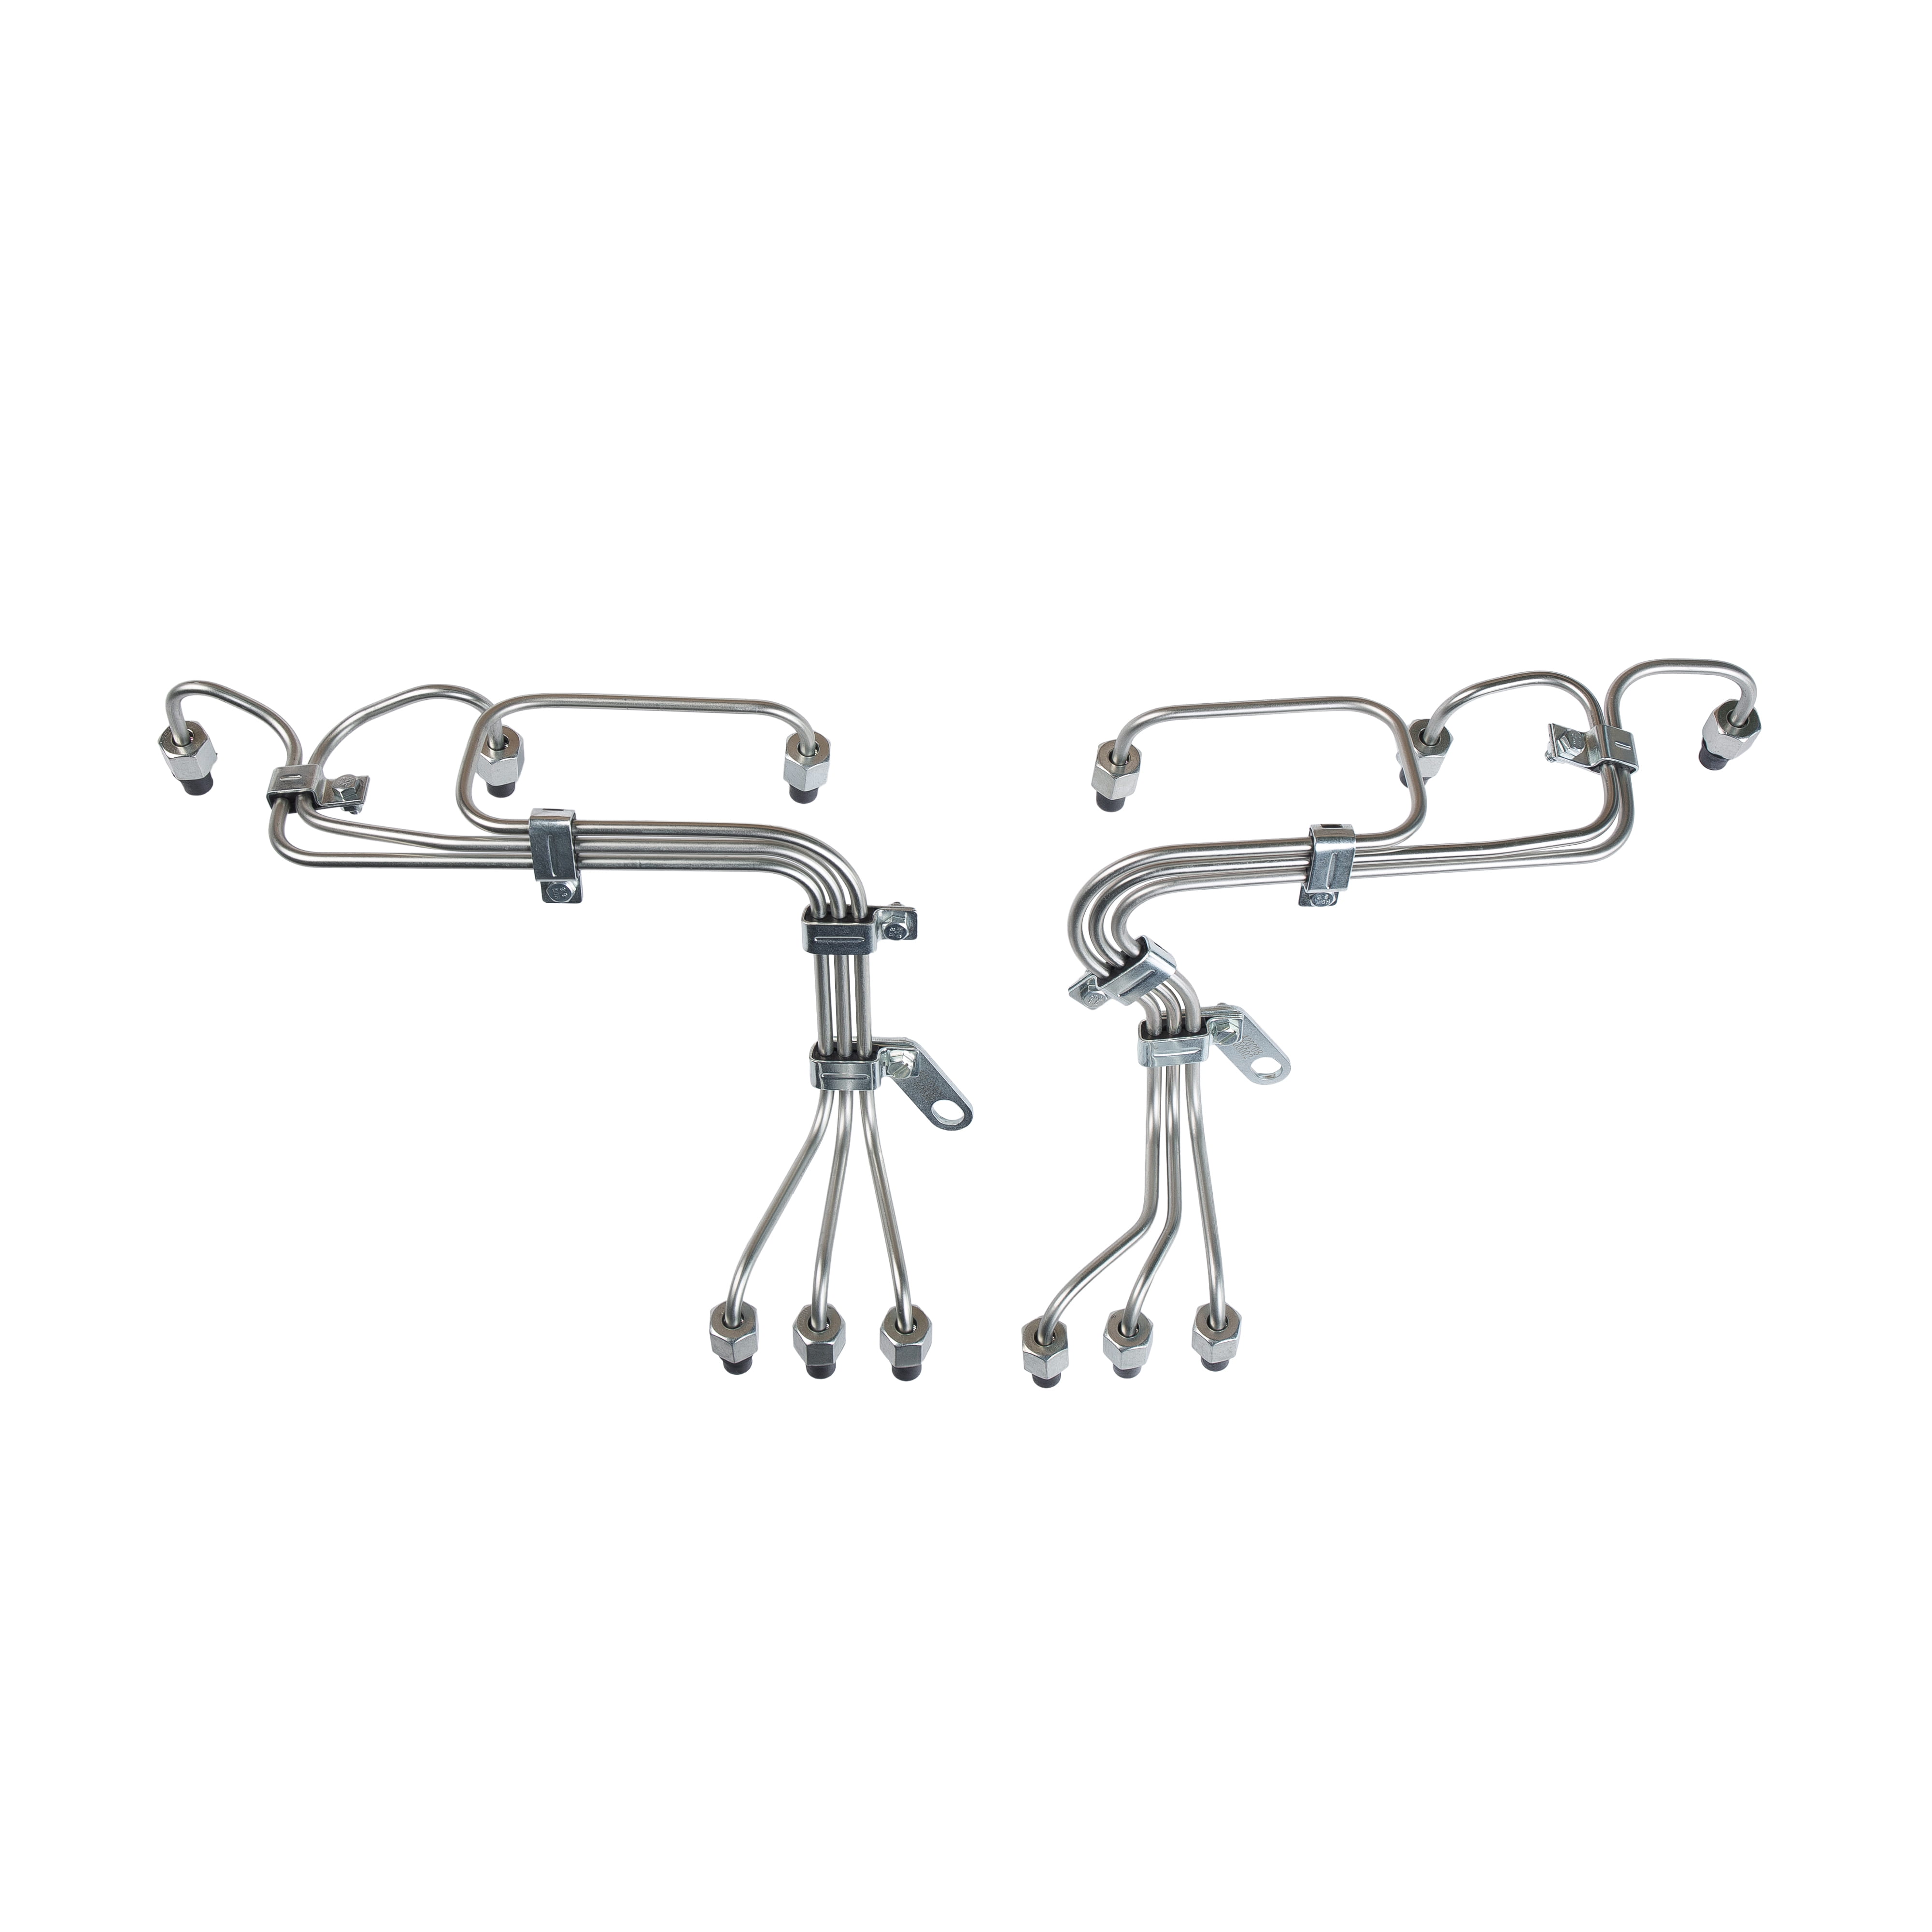
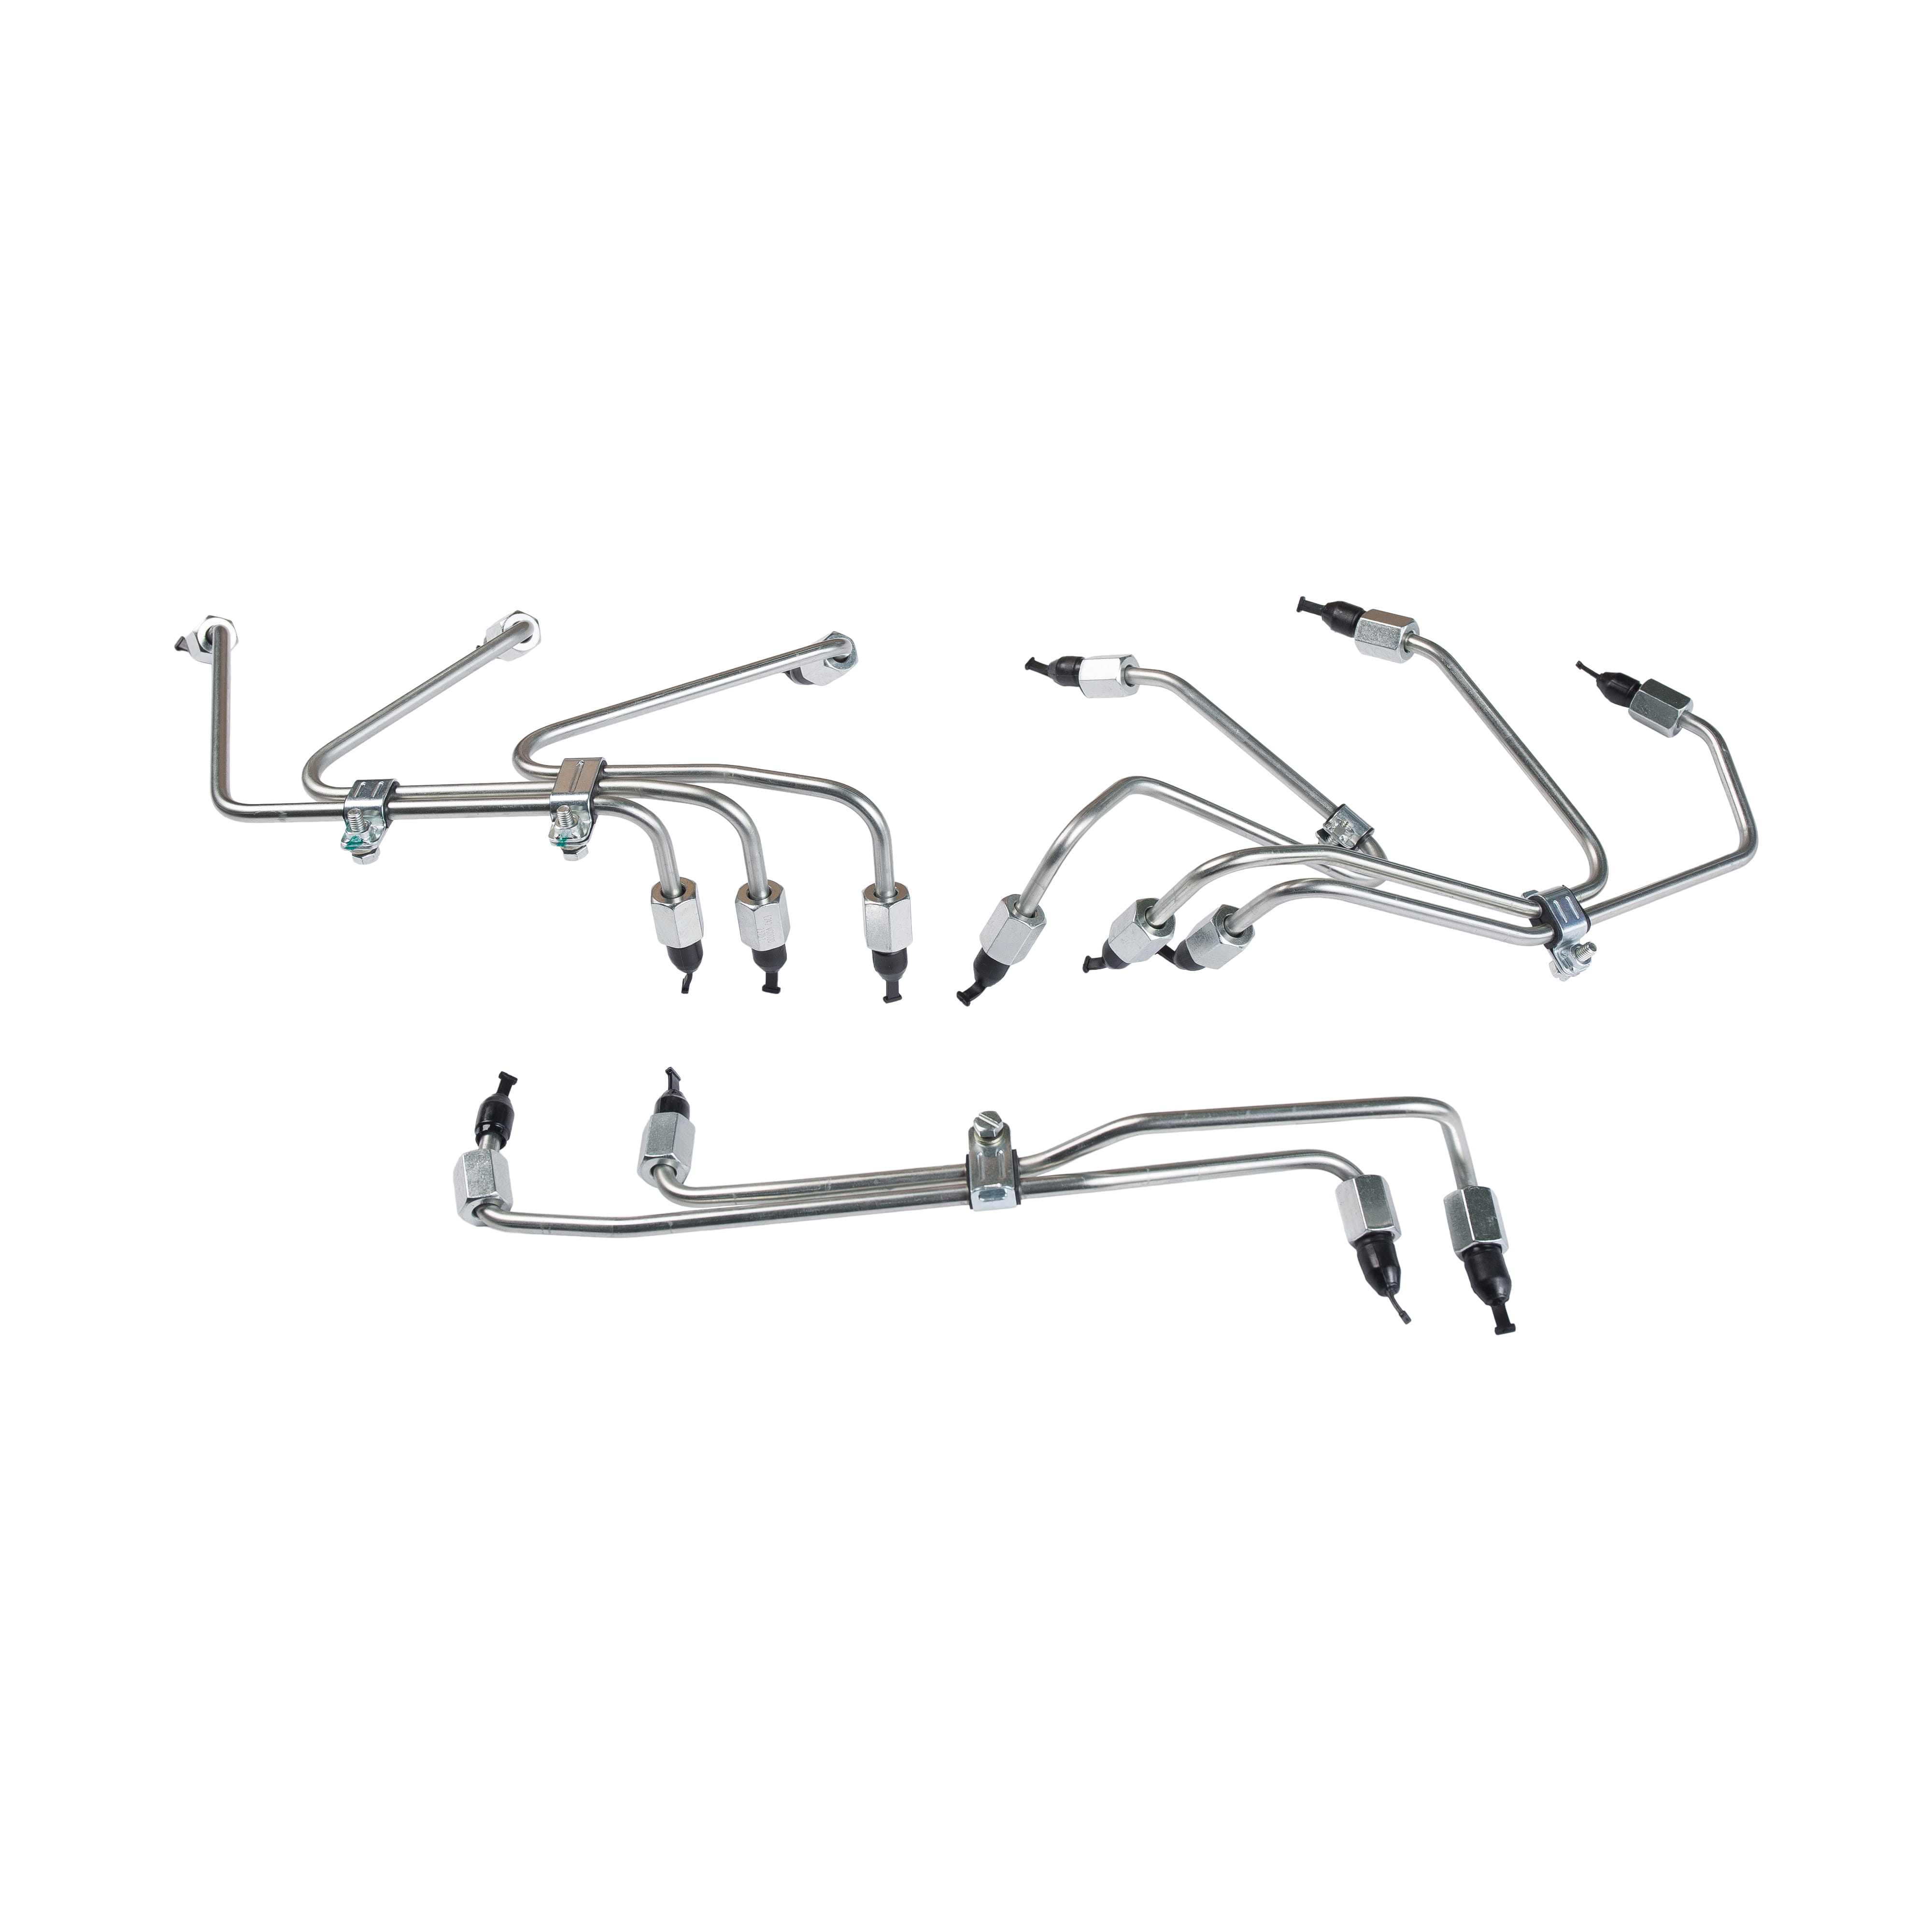
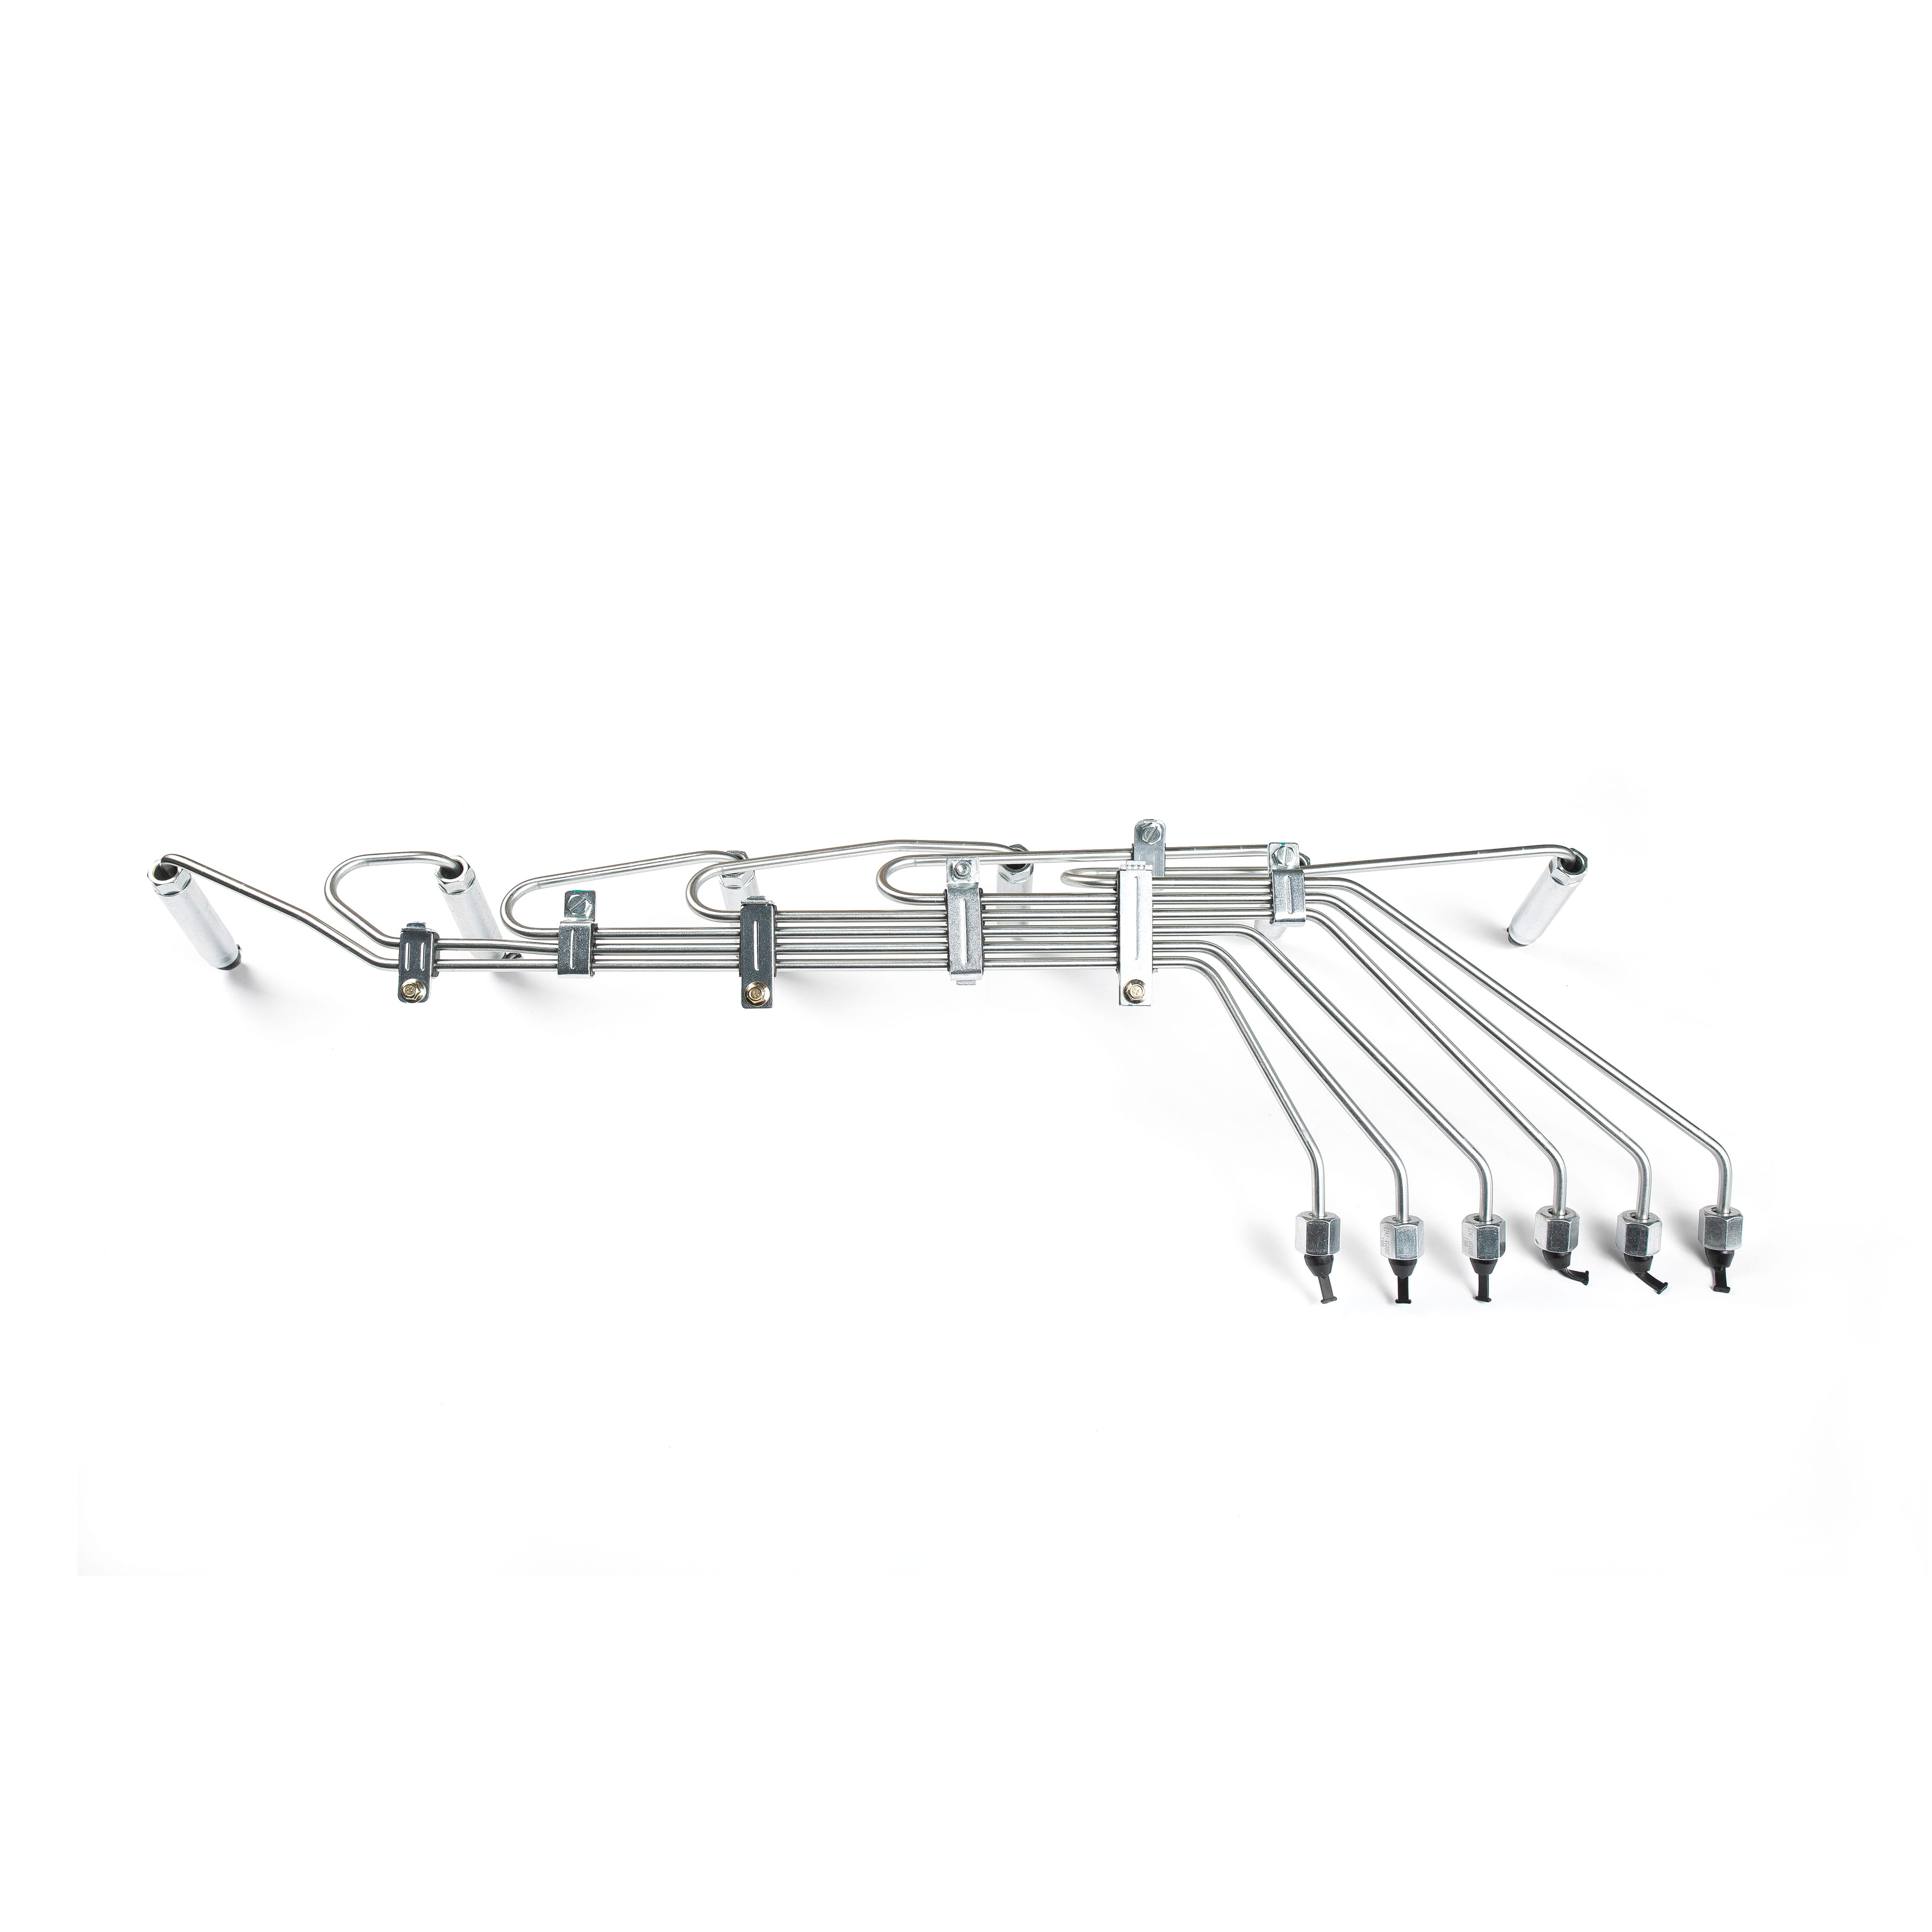
An engine low-pressure oil pipe is a critical component that transports lubricating oil from the oil pan through the oil pump to various engine components at pressures typically ranging from 10 to 80 psi. These pipes form the initial stage of the engine's lubrication system, feeding oil to the oil filter, main bearings, camshaft bearings, and other vital moving parts. Unlike high-pressure fuel lines, low-pressure oil pipes handle viscous lubricant rather than volatile fuel, but their integrity is equally essential for engine survival.
The low-pressure designation distinguishes these pipes from high-pressure oil circuits found in systems like diesel injectors or variable valve timing mechanisms, which can operate at pressures exceeding 3,000 psi. Low-pressure oil pipes are typically constructed from steel tubing, reinforced rubber hose, or braided stainless steel, depending on their location and the engine's operating temperature range. A failure in even a small section of this piping can lead to catastrophic engine damage within minutes of operation.
Function and Role in the Lubrication System
The low-pressure oil pipe network serves multiple critical functions that directly impact engine longevity and performance.
Primary Oil Distribution
These pipes carry oil from the sump through the oil pump to the main oil gallery, which acts as the distribution hub for the entire engine. A typical automotive engine circulates 4 to 6 quarts of oil per minute at idle, increasing to 15-20 quarts per minute at highway speeds. The low-pressure pipes must maintain consistent flow without restriction to ensure all components receive adequate lubrication.
Filtration System Connection
Low-pressure pipes connect the oil pump to the oil filter before distribution to bearings and other surfaces. This configuration ensures all circulating oil passes through filtration, removing particulates as small as 25-40 microns that could cause accelerated wear. The pipe routing must accommodate the pressure drop across the filter, typically 5-15 psi when clean.
Cooling and Heat Dissipation
Oil pipes to and from external oil coolers handle the additional task of thermal management. Engine oil typically operates between 180°F and 250°F (82°C to 121°C), with performance engines reaching 280°F. The pipes must withstand these temperatures while maintaining flexibility and seal integrity over thousands of thermal cycles.
Pressure Regulation Support
Return lines from the pressure relief valve back to the sump are part of the low-pressure network. These pipes handle oil flow when system pressure exceeds the relief valve setting, typically 60-80 psi in most engines. Proper sizing ensures the relief valve can bypass sufficient volume without creating backpressure.
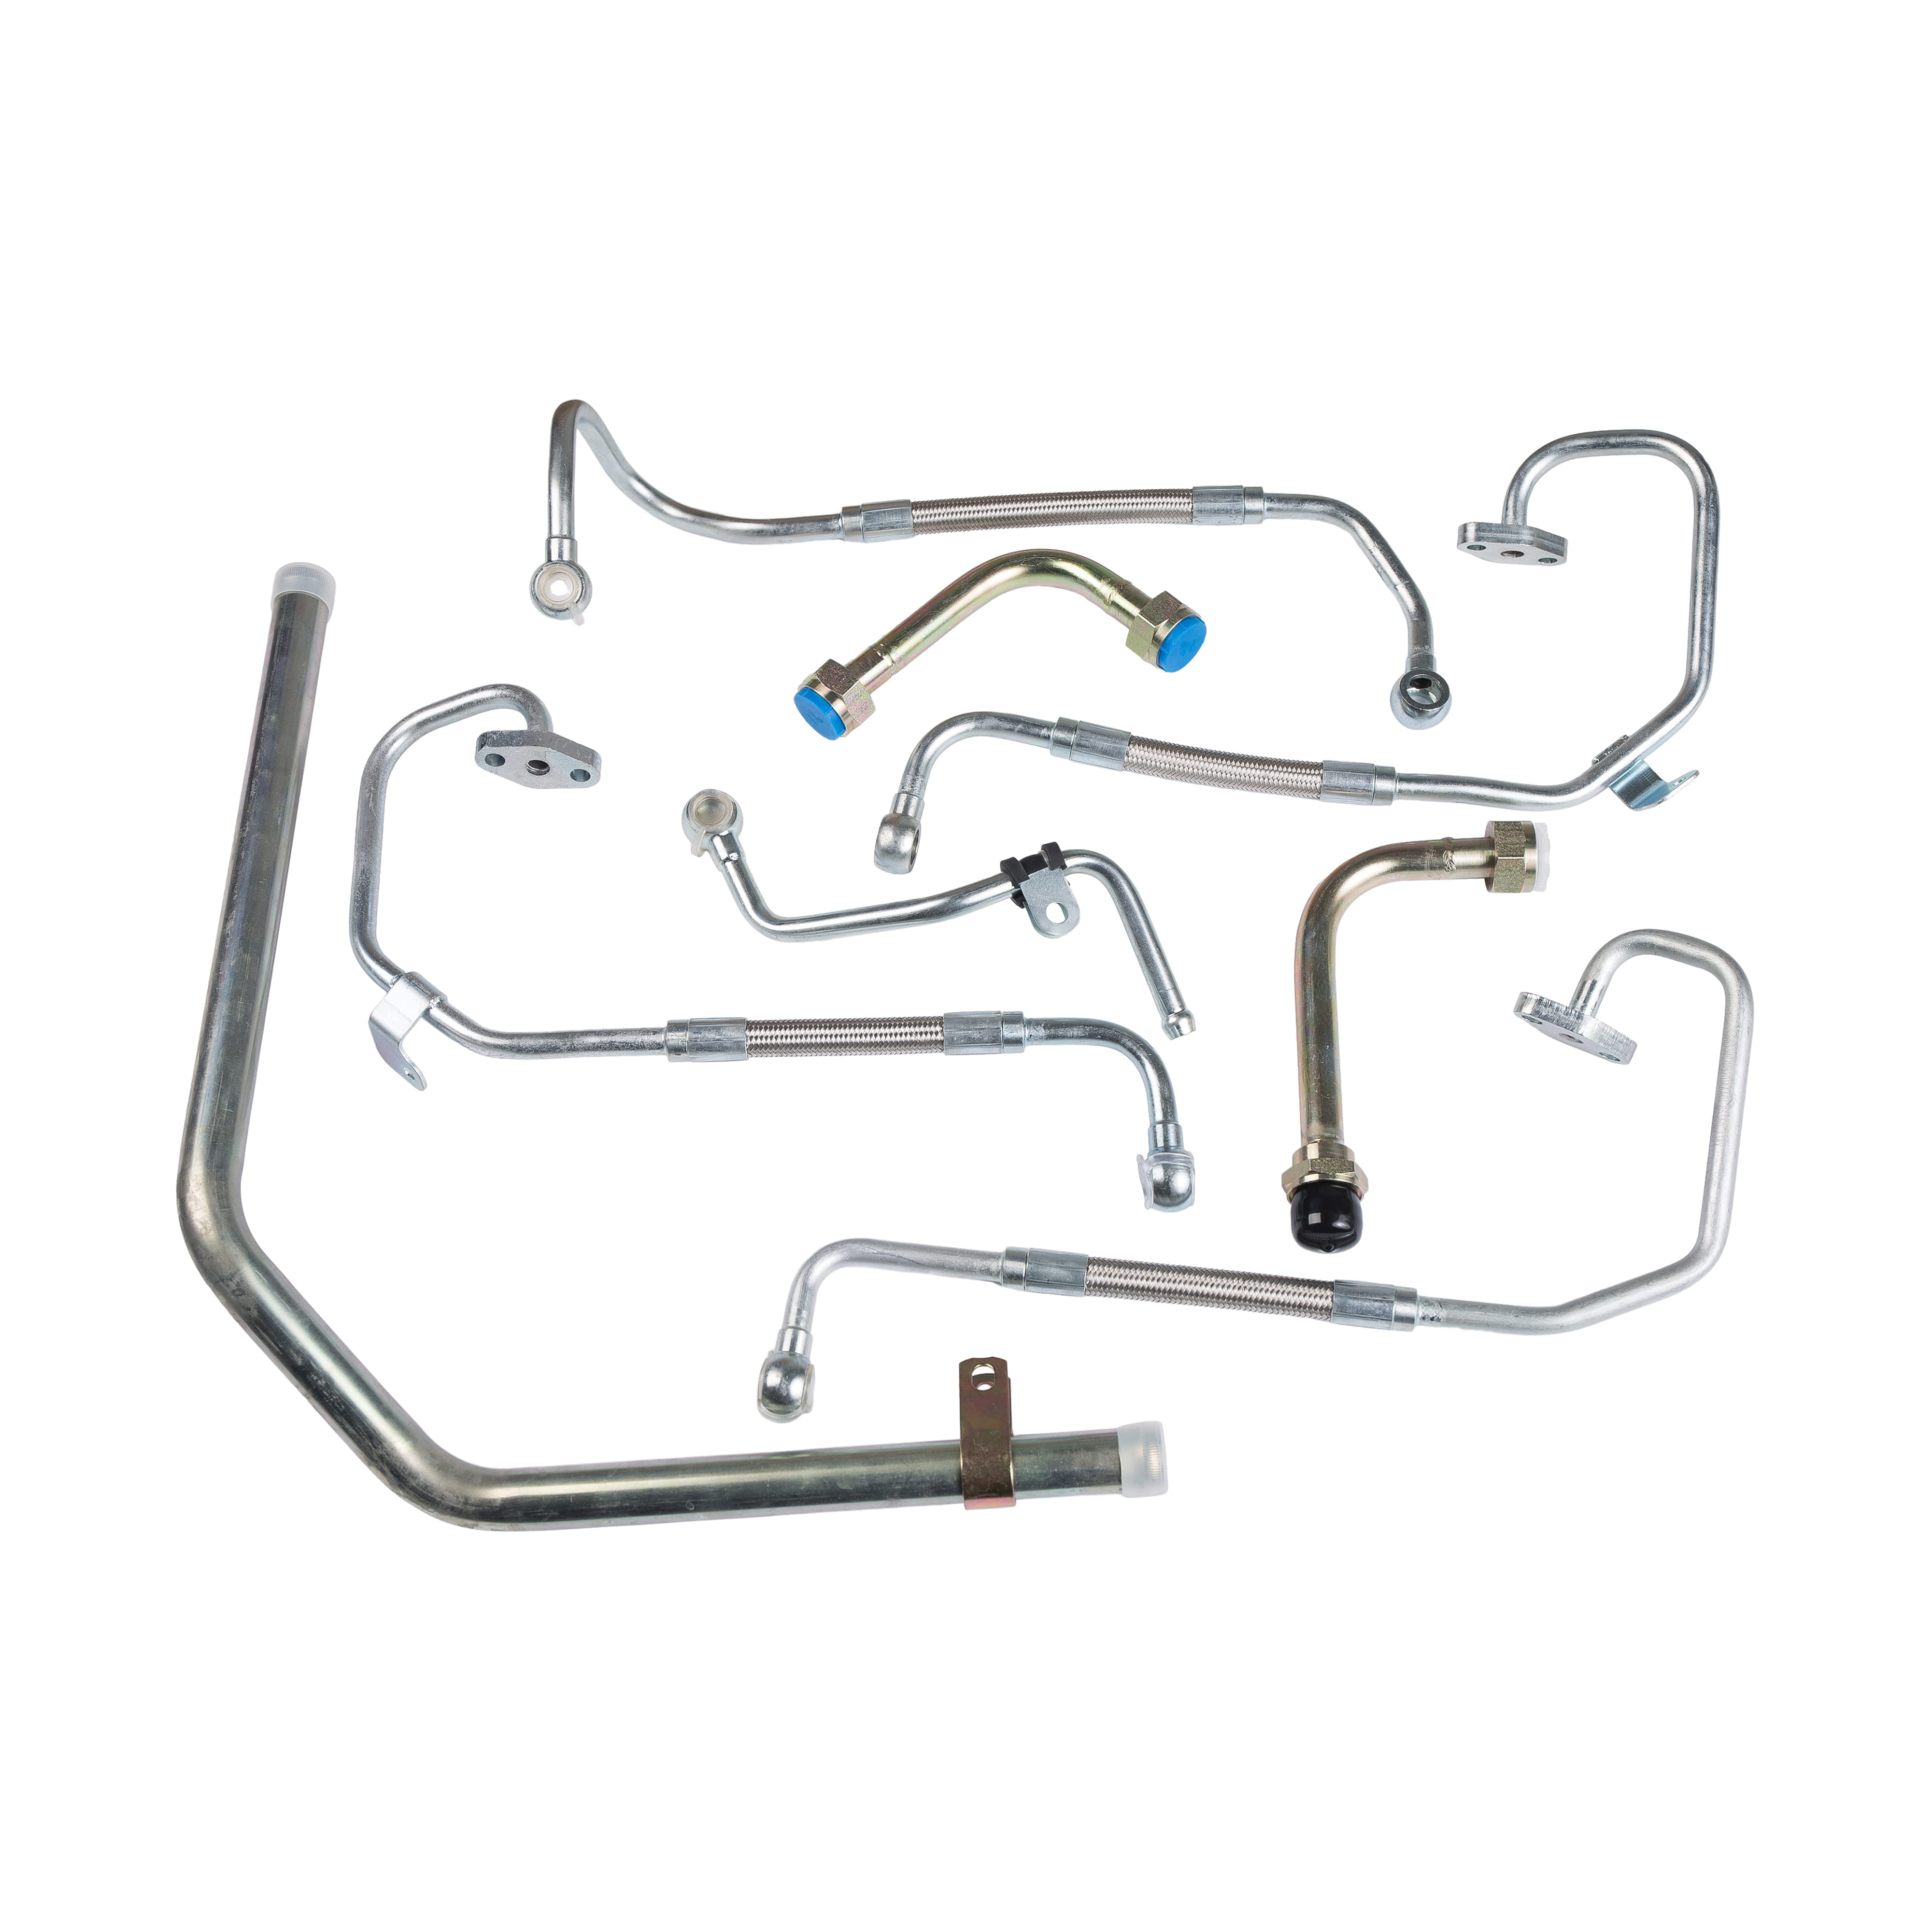
Common Types and Materials
Engine manufacturers select oil pipe materials and configurations based on location, temperature exposure, vibration levels, and cost considerations.
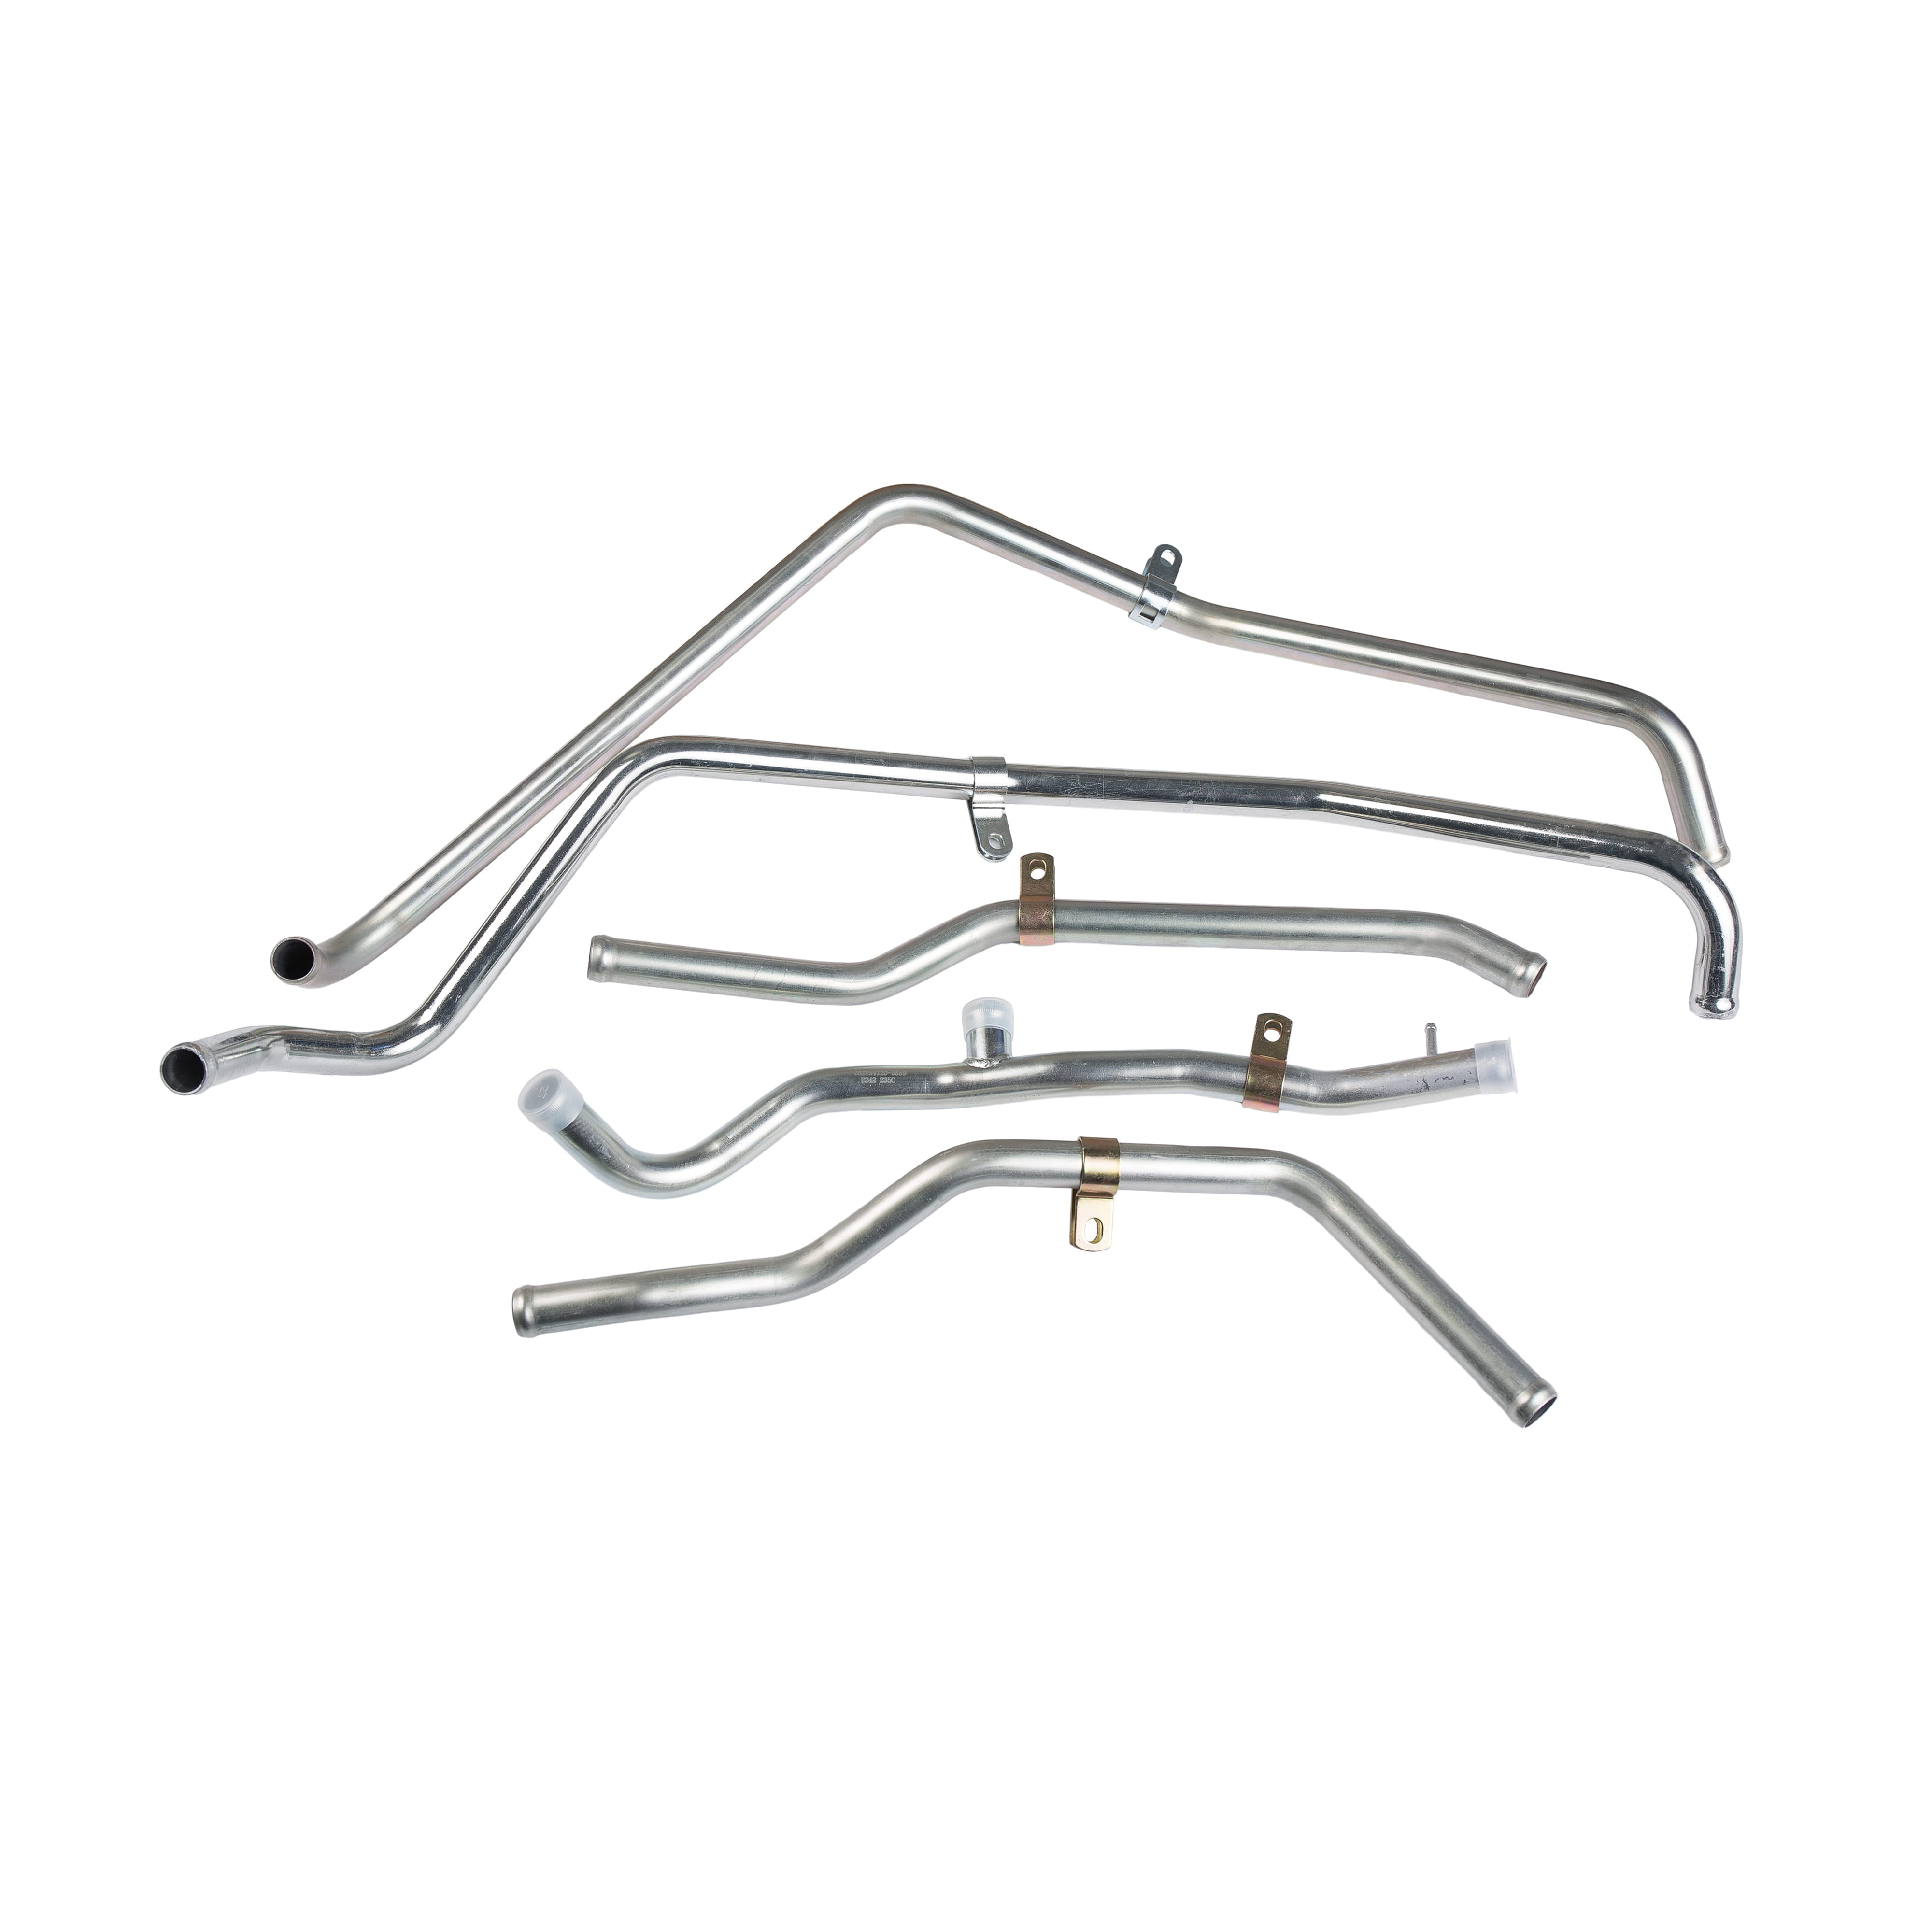
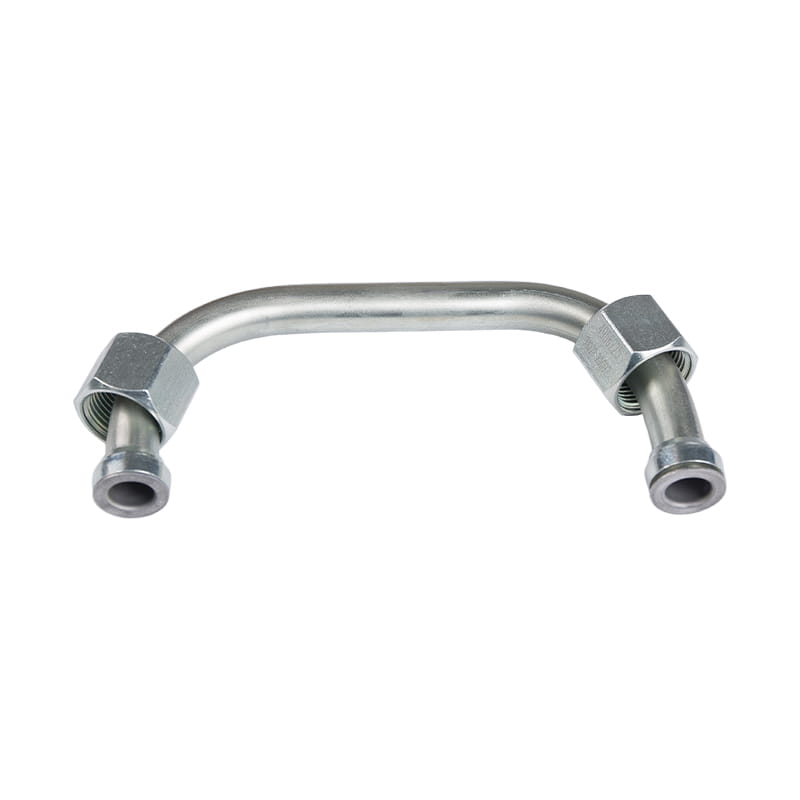
Steel Tubing
Rigid steel pipes, typically 6mm to 12mm in diameter, are used for fixed routing between engine block components. These pipes are pre-formed to precise shapes and secured with brackets to prevent vibration fatigue. Steel tubing offers excellent durability and can last the engine's lifetime if protected from corrosion and physical damage. Double-flare or inverted-flare fittings provide leak-proof connections.
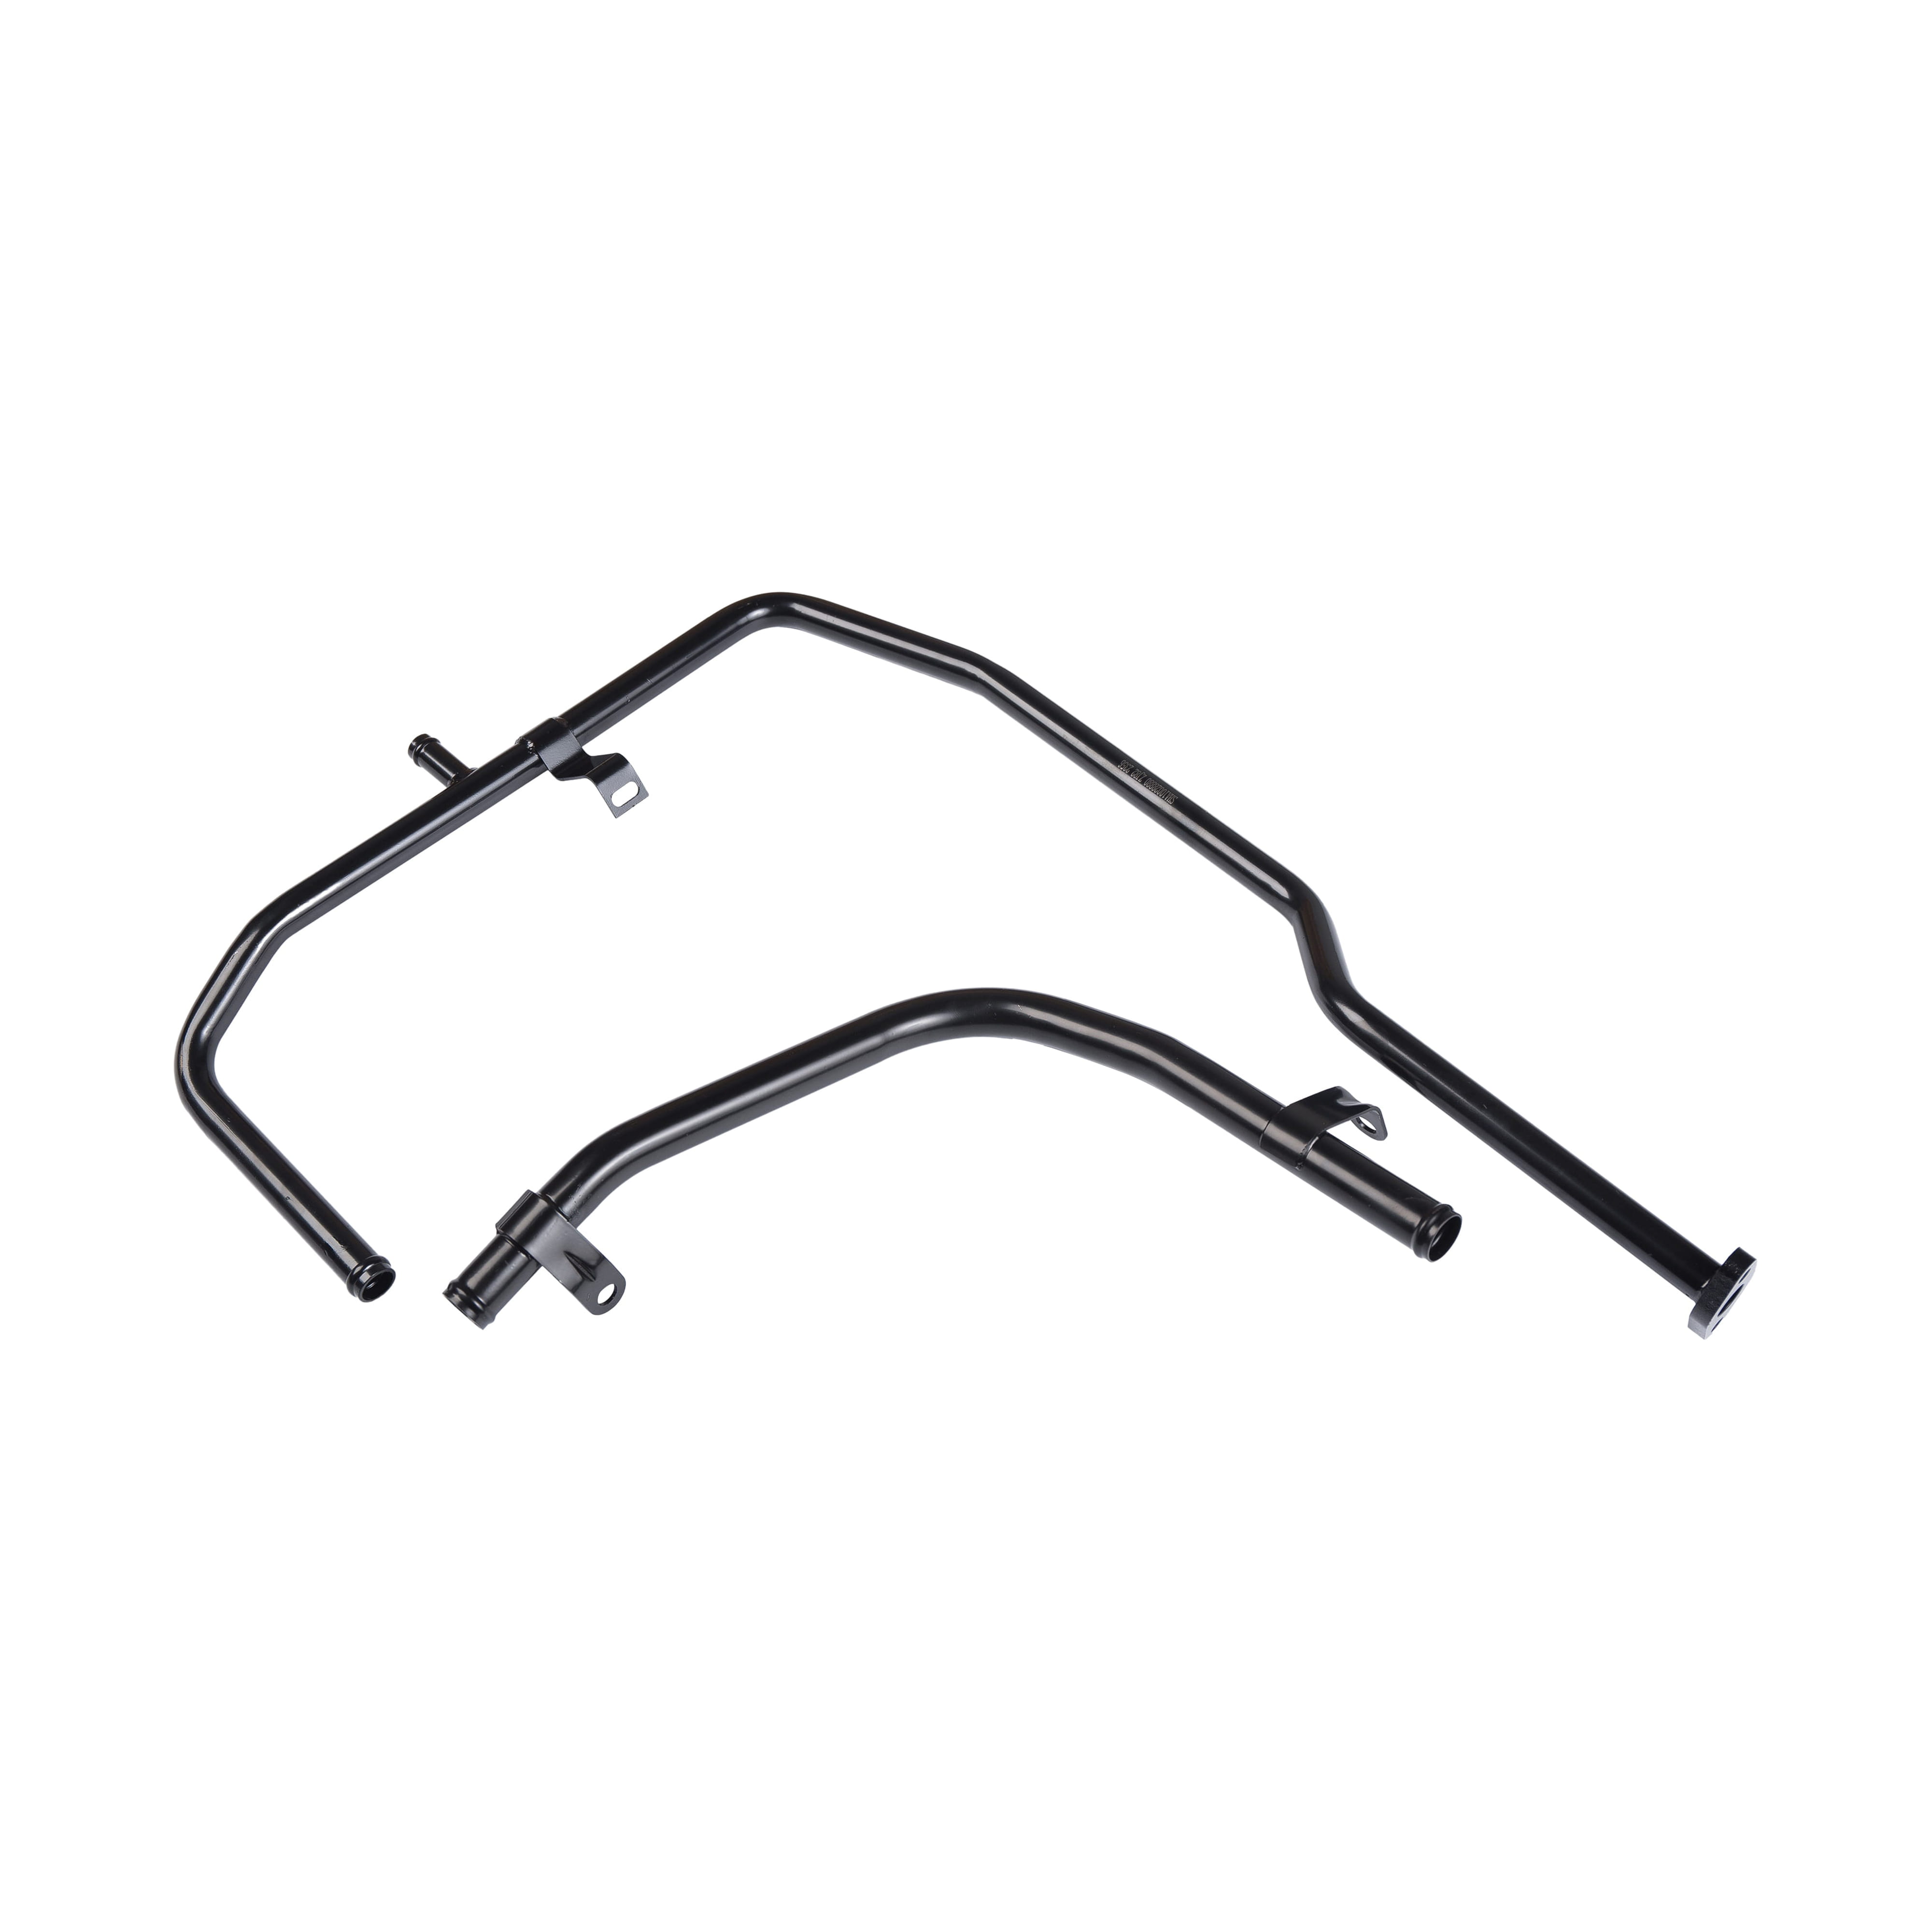
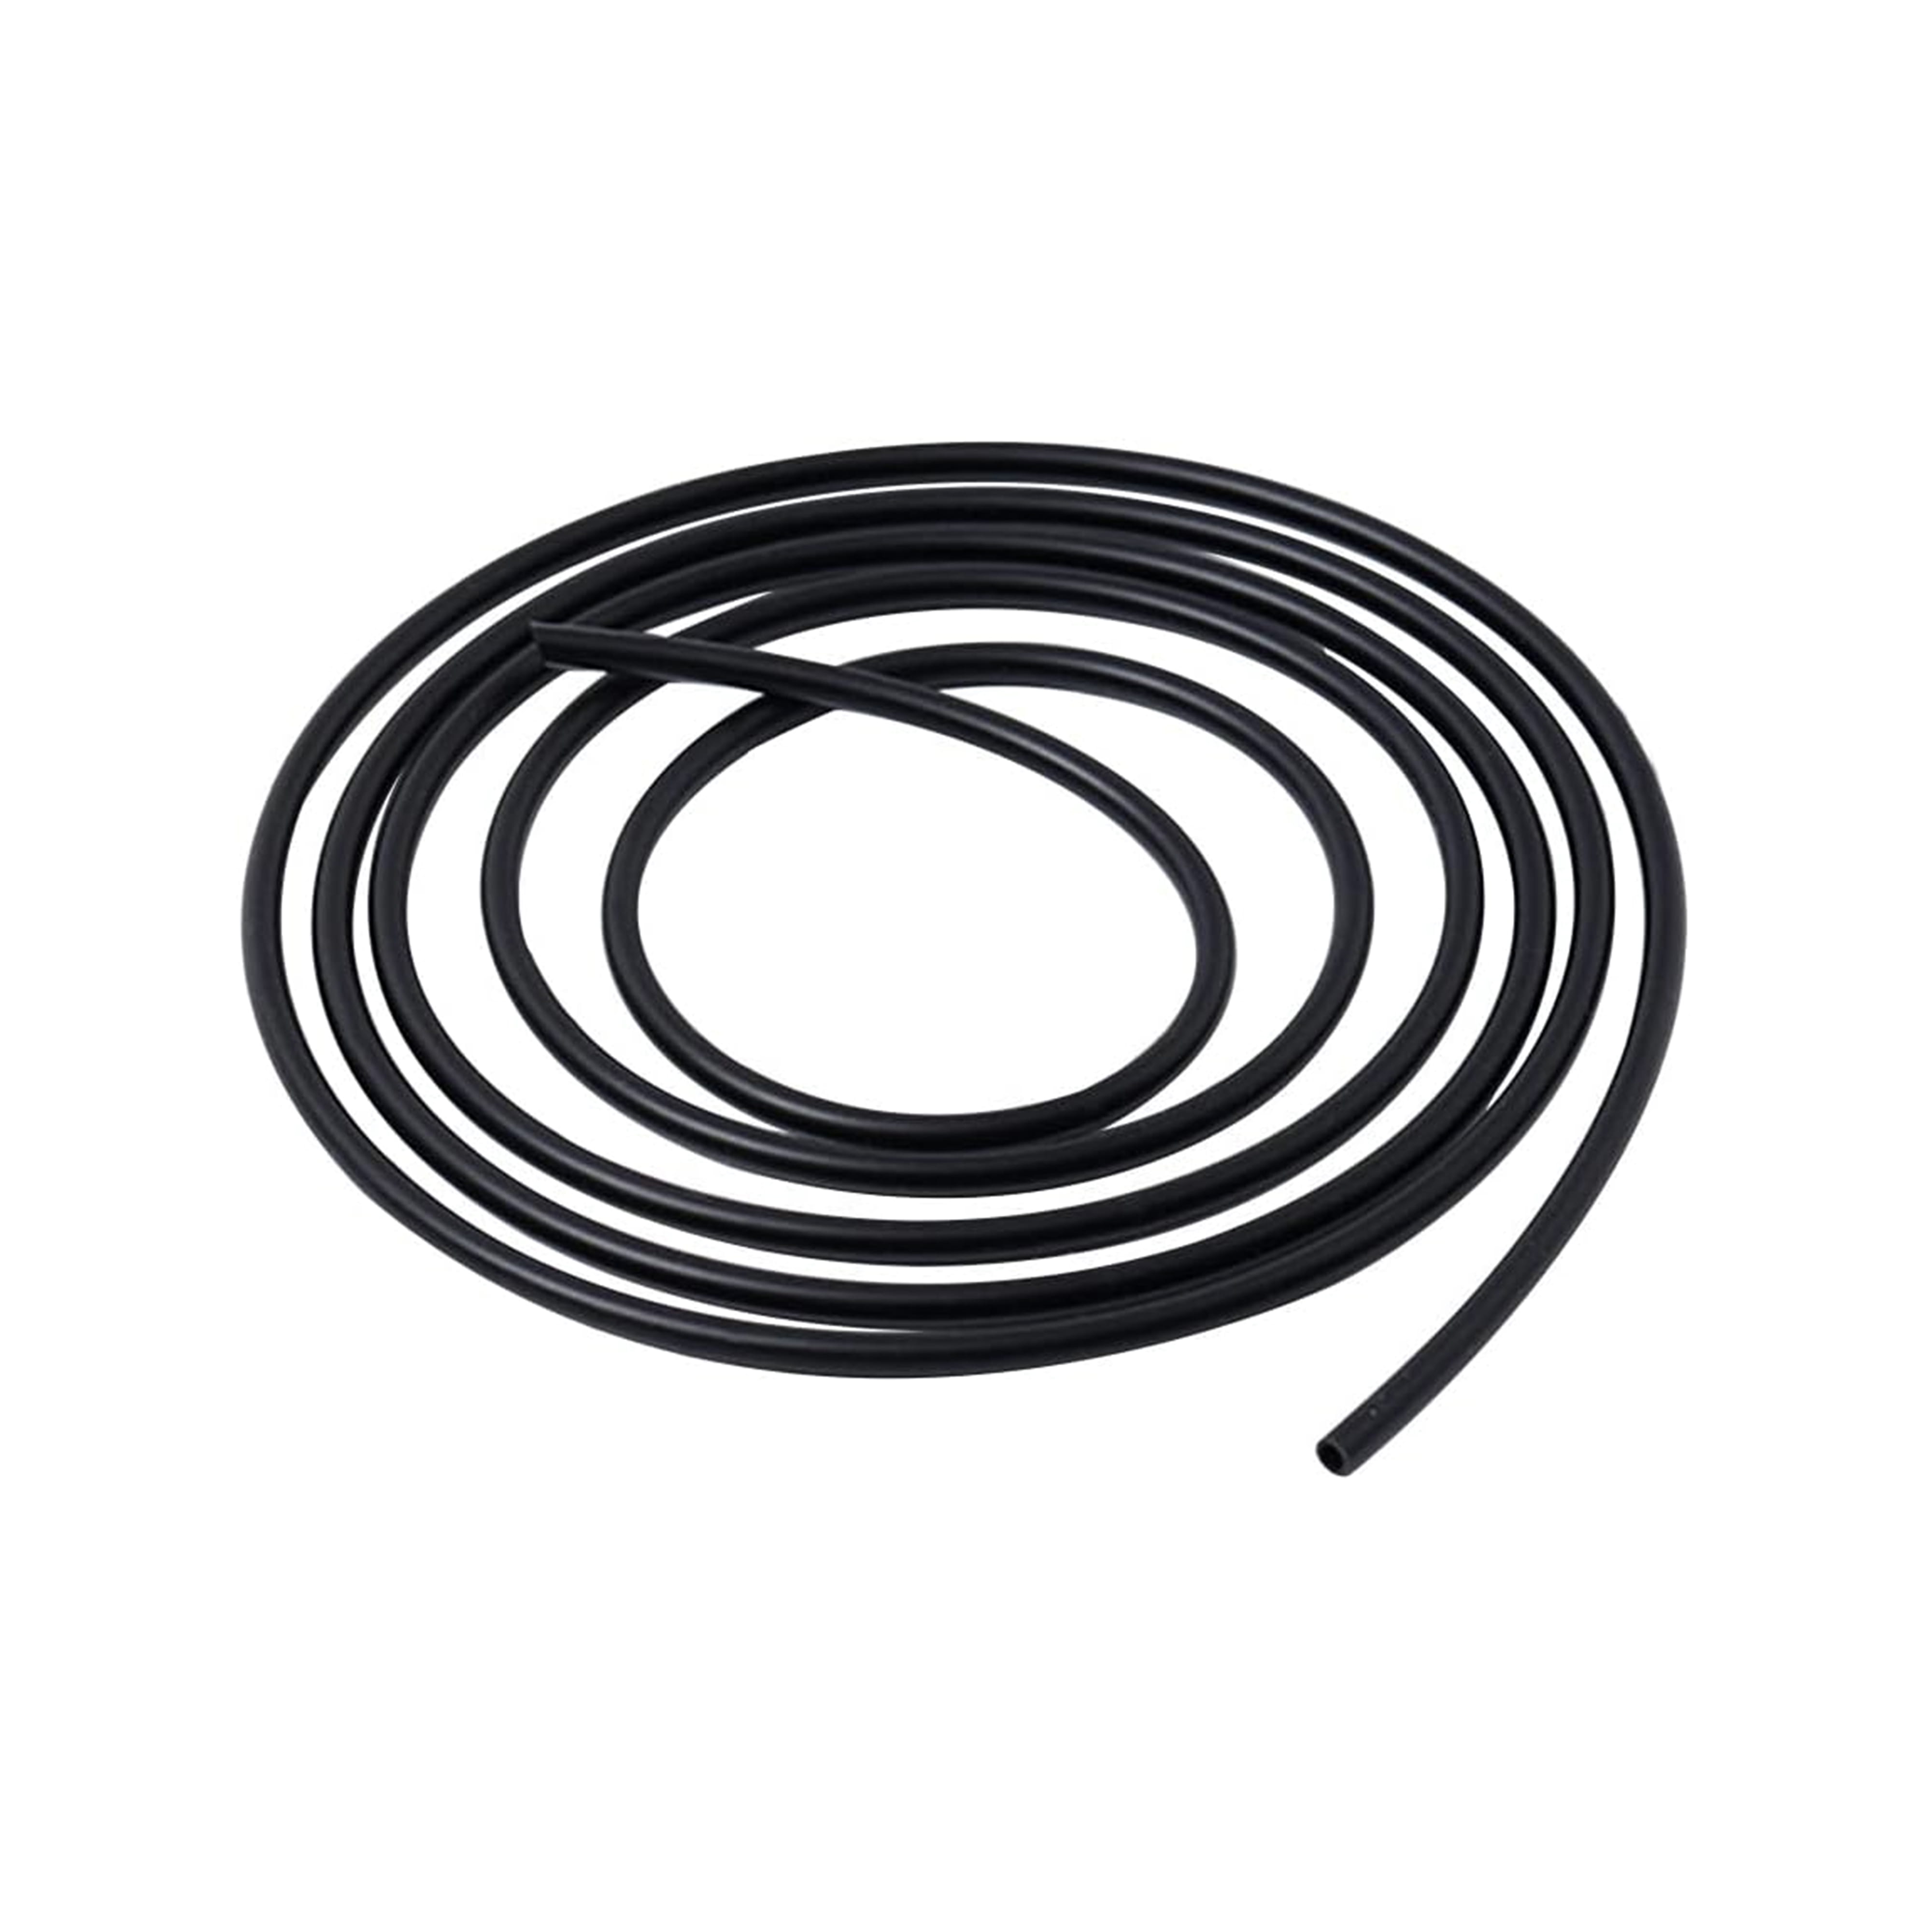
Reinforced Rubber Hose
Flexible rubber hoses with fabric or wire reinforcement accommodate movement between engine components and the chassis. These hoses must meet SAE J1532 standards for oil resistance, temperature tolerance, and burst pressure. Typical burst pressure ratings exceed 500 psi, providing a substantial safety margin. Service life ranges from 50,000 to 100,000 miles depending on heat exposure.
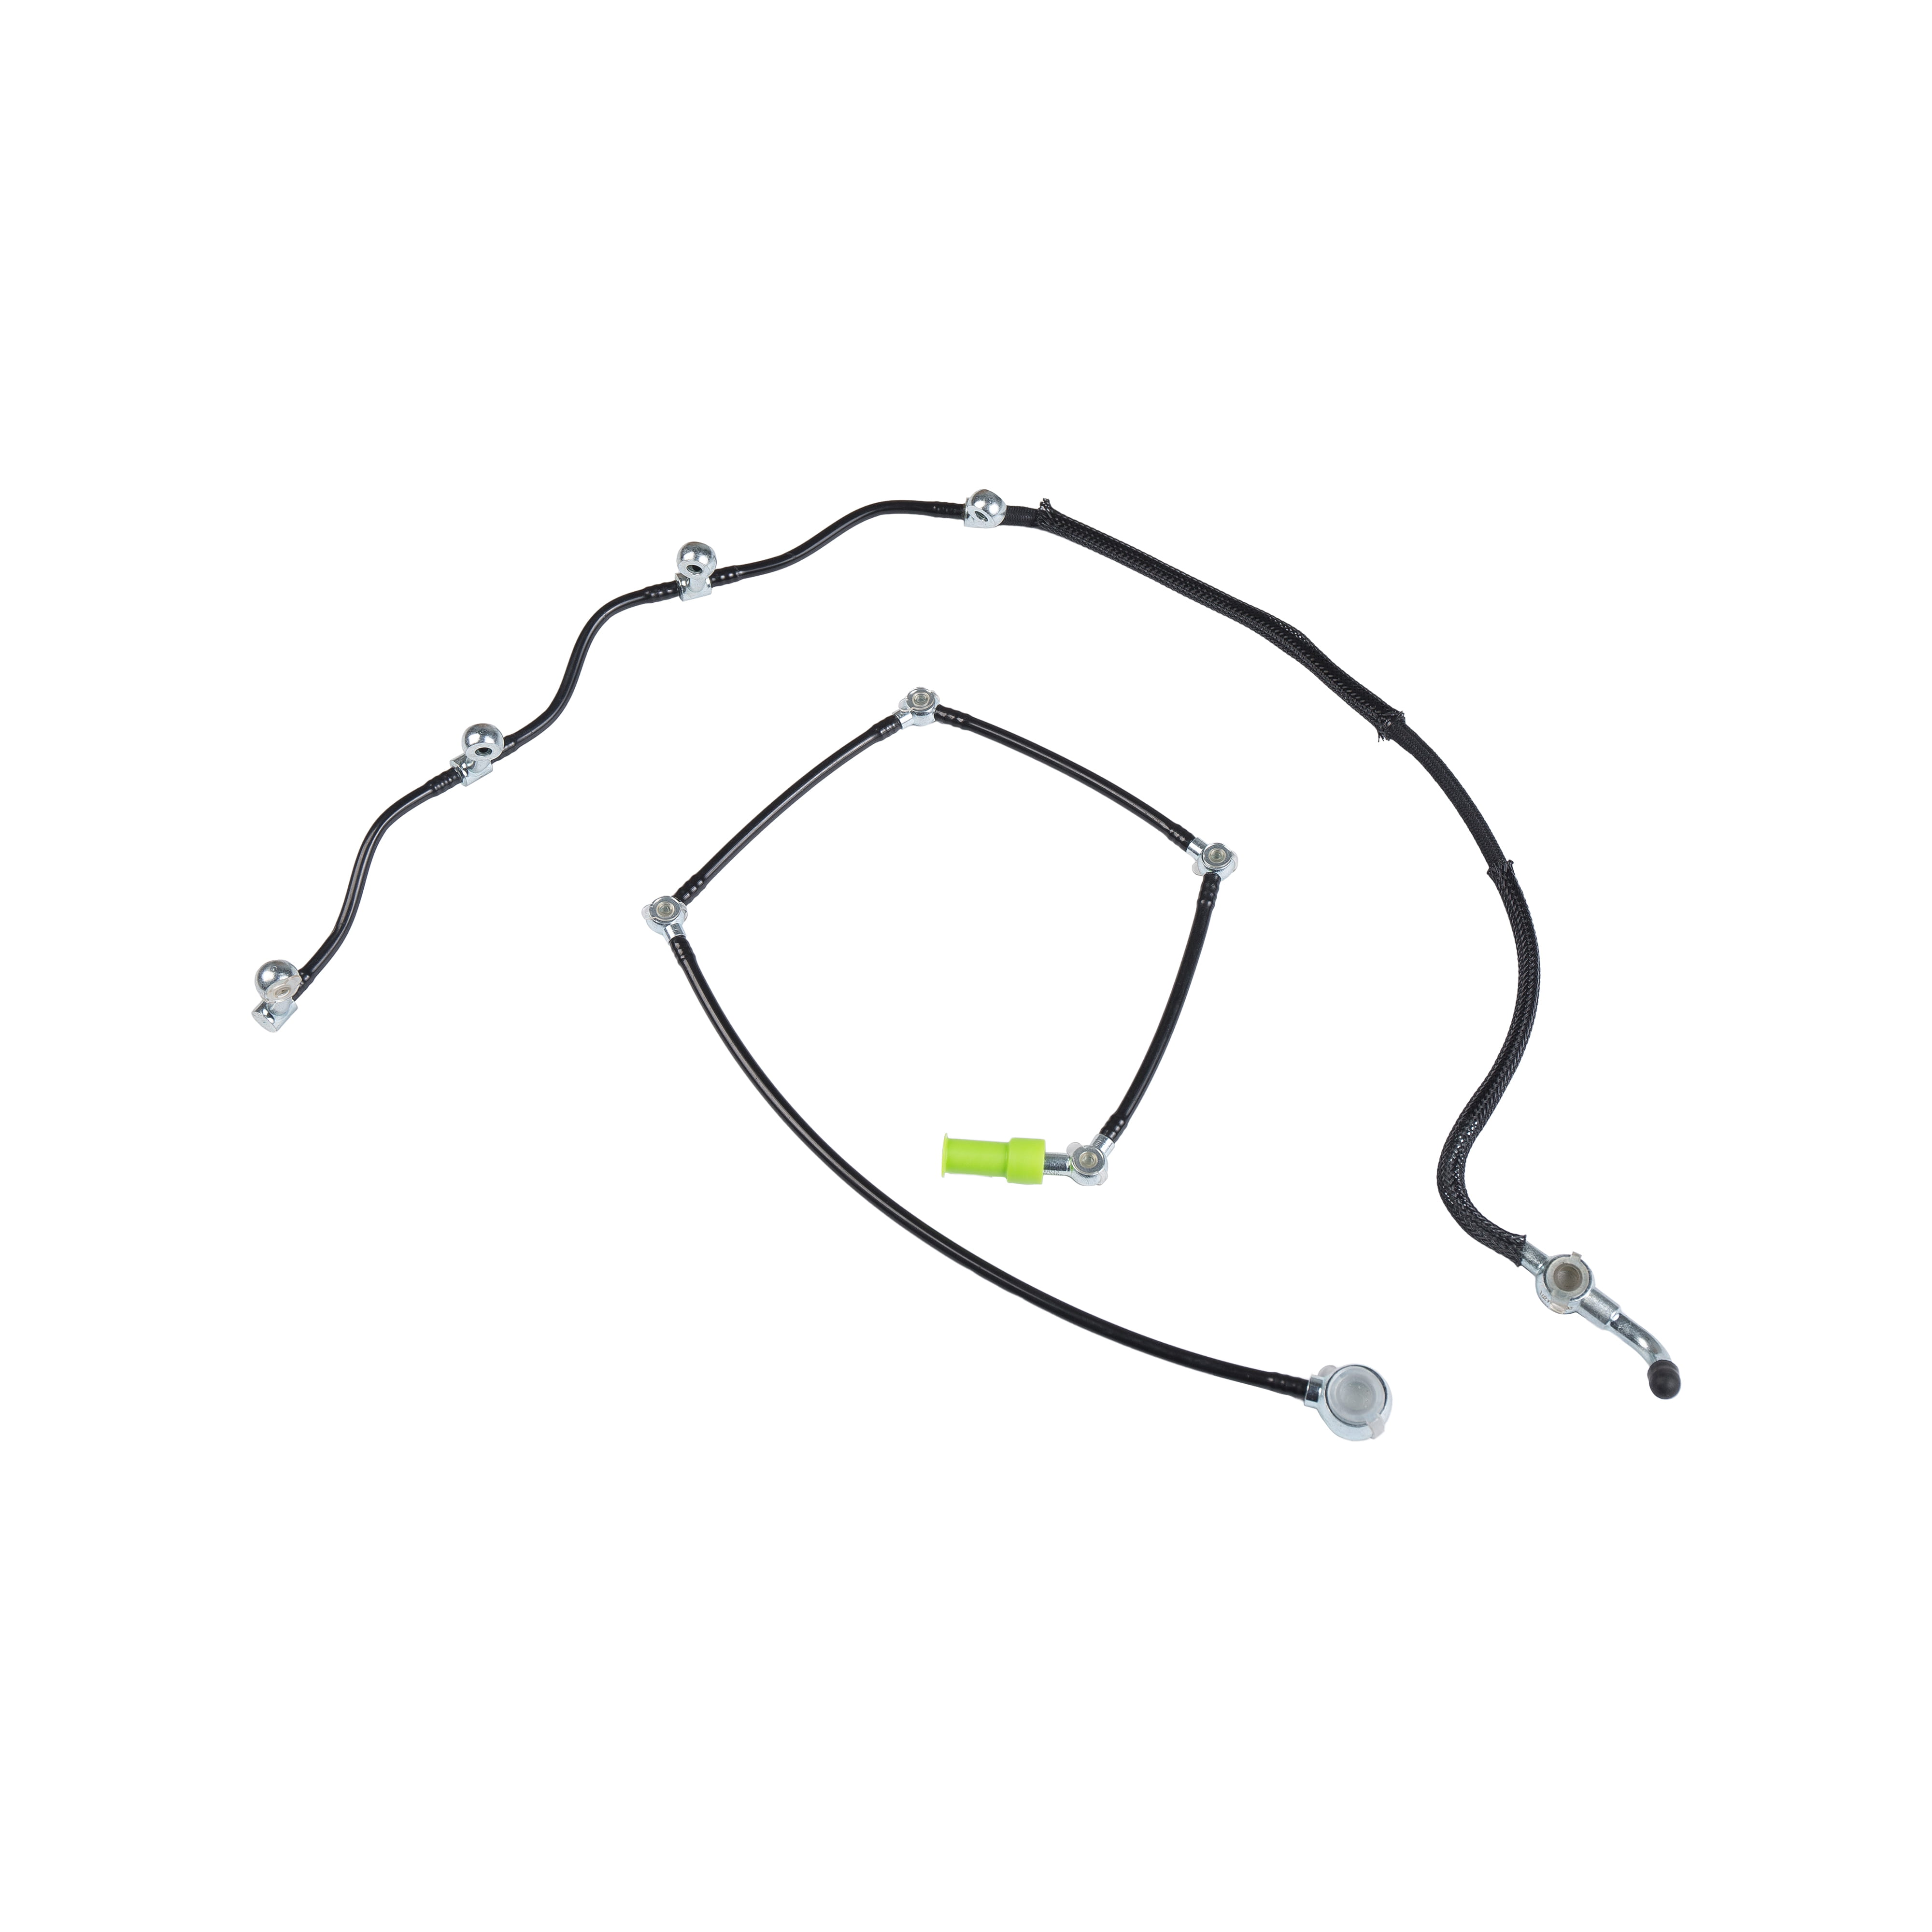
Braided Stainless Steel Lines
Performance and racing applications use braided stainless steel lines with PTFE inner cores for superior temperature resistance and minimal expansion under pressure. These lines handle temperatures exceeding 300°F and provide 4-6 times the burst strength of rubber hoses. The outer braid protects against abrasion while allowing visual inspection of the inner line condition.
| Material Type | Temperature Range | Typical Lifespan | Common Applications |
|---|---|---|---|
| Steel Tubing | -40°F to 300°F | Engine lifetime | Fixed internal routing |
| Rubber Hose (SAE J1532) | -40°F to 257°F | 50,000-100,000 miles | Flexible connections, coolers |
| Braided Stainless/PTFE | -65°F to 400°F | 100,000+ miles | Performance, racing, turbo feed |
| Nylon/Composite | -40°F to 230°F | 75,000-150,000 miles | Modern OEM low-temp areas |
Common Failure Modes and Symptoms
Recognizing the signs of oil pipe failure enables early intervention before catastrophic engine damage occurs.
External Leaks
Visible oil seepage or dripping represents the most obvious failure symptom. Even minor leaks can lose 1 quart of oil per 500-1,000 miles, leading to low oil levels and potential starvation. Leaks typically occur at connection points where rubber hoses meet metal fittings, at crimped joints, or where steel lines have developed corrosion pinholes. Oil accumulation on the engine block or under the vehicle, accompanied by burning oil smell from exhaust heat, indicates active leakage.
Internal Restrictions
Degraded rubber hoses can collapse internally or accumulate deposits that restrict flow. This manifests as low oil pressure warnings at idle or during cold starts. A restriction as small as 50% of the pipe's internal diameter can reduce flow enough to starve bearings, particularly in high-RPM operation. The oil pressure gauge may show normal pressure when cold but drop significantly as oil thins with heat.
Fatigue Cracking
Steel lines subjected to vibration without proper support develop fatigue cracks, particularly at bends. These cracks may start microscopic but propagate rapidly under pressure cycling. High-mileage engines with over 150,000 miles are especially susceptible. Cracks often appear at mounting brackets where stress concentration occurs, or where lines contact the engine block during movement.
Connection Failures
Compression fittings can loosen from thermal cycling, while crimped connections on rubber hoses may separate. Banjo bolts connecting pipes to the engine block develop leaks when copper crush washers harden and lose sealing capability. Torque specifications typically range from 18 to 25 ft-lbs for banjo bolts, but over-torquing can strip threads or crack fittings.
Diagnostic and Inspection Methods
Systematic inspection procedures help identify problems before they result in engine failure or roadside breakdowns.
Visual Inspection Procedures
Begin with the engine cold and clean external surfaces to identify fresh leaks. Check all visible pipes for:
- Oil wetness, staining, or droplet formation at fittings and along pipe runs
- Rubber hose condition including cracks, bulges, or soft spots when squeezed
- Corrosion or rust on steel lines, particularly at low points where moisture accumulates
- Proper routing and secure mounting without contact with hot exhaust components
- Chafing marks where lines contact other components during engine movement
Rubber hoses showing surface cracking, hardening, or dating stamps older than 5 years should be considered for preventive replacement regardless of external appearance.
Pressure Testing
Mechanical oil pressure gauges provide more accurate readings than dashboard warning lights. Connect a gauge to the oil pressure sending unit port and compare readings to manufacturer specifications, typically 10-20 psi at idle and 40-60 psi at 2,000 RPM for most engines. Pressure below specification with the engine at operating temperature indicates potential restriction in supply lines or pump wear.
Flow Testing
For suspected restrictions, disconnect return lines at the sump and measure flow volume during cranking. A healthy system should produce 1 quart per 30 seconds of cranking at minimum. Reduced flow with adequate pump operation points to line restriction. This test requires catching oil in a graduated container and should be performed quickly to avoid running the pump dry.
Thermal Imaging
Infrared cameras can identify hot spots indicating restricted flow or internal friction. Normal oil pipes show uniform temperature distribution matching engine block temperature. A section running 20-30°F hotter than surrounding areas may indicate turbulent flow through a restriction or internal collapse.
Replacement and Repair Procedures
Proper replacement techniques ensure reliable sealing and long service life for new oil pipe components.
Preparation and Safety
Allow the engine to cool completely before beginning work. Drain oil to prevent excessive spillage, particularly when replacing lower pipes. Position drain pans to catch residual oil from lines, which can amount to 1-2 quarts depending on pipe location. Wear safety glasses as pressurized oil may spray when fittings are loosened. Have replacement crush washers, O-rings, and fittings ready before disassembly.
Steel Line Replacement
Follow these steps for rigid steel line replacement:
- Photograph or sketch the routing before removal to ensure correct reinstallation
- Use proper flare-nut wrenches to avoid rounding fitting hexes
- Remove mounting brackets, noting their positions for reassembly
- Clean all mating surfaces and inspect threaded ports for damage
- Install new pipes without fully tightening to allow alignment adjustment
- Secure mounting brackets, ensuring pipes don't contact moving or hot components
- Torque fittings to specification, typically 12-18 ft-lbs for small fittings and 18-25 ft-lbs for larger banjo bolts
Flexible Hose Installation
Rubber and braided hoses require specific installation techniques. Ensure hoses are routed without twisting by aligning any orientation marks or text. Maintain minimum bend radius specifications, typically 6 times the hose diameter to prevent internal kinking. Use only the specified clamp types—screw clamps for low-pressure applications and proper AN fittings for braided lines. Avoid routing hoses where they contact sharp edges or will be stressed during engine movement.
Post-Installation Verification
After installation, refill the engine with the specified oil quantity and grade. Start the engine and verify oil pressure builds within 5-10 seconds. Inspect all connections for leaks with the engine at idle and again after reaching operating temperature. Check for leaks after a short test drive, as thermal expansion and vibration may reveal improperly tightened connections. Monitor oil level for several days to confirm no slow leaks exist.
Preventive Maintenance Best Practices
Proactive maintenance extends oil pipe service life and prevents unexpected failures.
Regular Inspection Schedule
Include visual oil pipe inspection during every oil change service. Look for early signs of deterioration including surface checking on rubber hoses, corrosion on steel lines, and wetness at fittings. Engines operating in severe conditions—extreme temperatures, high dust, or frequent short trips—benefit from inspection every 5,000 miles rather than following only the standard service interval.
Proactive Hose Replacement
Replace rubber oil hoses preventively at 75,000-100,000 miles or 7-10 years, whichever comes first. High-heat locations near turbochargers or exhaust manifolds may require replacement at half these intervals. The cost of preventive hose replacement ($50-200) is minimal compared to engine damage from a catastrophic leak.
Corrosion Prevention
Steel lines in areas exposed to road salt benefit from protective coatings or wrapping. Clean accumulated road debris and salt deposits during undercarriage washing. Apply rust-preventive spray to exposed steel fittings and lines annually in corrosive environments. Vehicles in coastal areas or regions using road salt experience 2-3 times faster corrosion rates than those in dry climates.
Quality Oil and Filter Maintenance
Using high-quality oil and changing filters at recommended intervals prevents sludge buildup that can restrict pipe flow. Contaminated oil accelerates rubber degradation and increases internal deposits. Extended drain intervals beyond 7,500-10,000 miles without appropriate synthetic oil formulations can reduce hose life by 30-40%.
Cost Considerations and Parts Selection
Understanding cost factors helps make informed decisions about repair versus replacement and parts quality selection.
OEM vs. Aftermarket Parts
Original Equipment Manufacturer (OEM) oil pipes guarantee fit and material specifications but cost 40-80% more than quality aftermarket alternatives. For critical applications or newer vehicles under warranty, OEM parts provide peace of mind. Quality aftermarket suppliers like Gates, Dayco, and Continental offer parts meeting or exceeding OEM specifications at lower cost. Avoid bargain-basement parts from unknown manufacturers, as substandard materials can fail prematurely.
Typical Replacement Costs
Parts costs for low-pressure oil pipes vary by vehicle and location:
- Simple rubber hoses: $15-50 each
- Pre-formed steel lines: $30-150 each
- Braided stainless steel lines: $60-200 per line
- Complete oil cooler line kits: $100-400
Professional installation labor adds $100-300 depending on accessibility. Simple external hose replacement may take only 0.5-1 hour, while lines routed through engine components or requiring engine lifting can require 3-4 hours. DIY replacement saves labor costs but requires proper tools and mechanical knowledge.
Performance Upgrades
Upgrading to braided stainless steel lines during maintenance provides long-term value for performance vehicles or those operated in extreme conditions. The additional $100-200 investment over rubber hoses is offset by extended service life and improved reliability. Upgraded lines also support modifications like external oil coolers or remote oil filters without concerns about hose expansion or deterioration.
Special Considerations for Different Engine Types
Various engine configurations present unique challenges and requirements for low-pressure oil pipe systems.
Turbocharged Engines
Turbocharged engines require oil supply and return lines to the turbocharger center bearing. These lines operate in extremely high-heat environments with temperatures exceeding 500°F near the turbine housing. Heat-resistant braided lines or specially-insulated rubber hoses are essential. The oil return line must be adequately sized—typically larger than the supply line—to allow gravity drainage without pressure buildup that could blow out turbo seals.
Diesel Engines
Modern diesel engines with high-pressure common rail fuel systems often have separate high-pressure oil circuits for injector operation. These circuits can reach 3,000-4,000 psi and require special high-pressure lines, but the base lubrication system still uses standard low-pressure pipes. Diesel engines typically run cooler oil temperatures but circulate higher volumes, requiring proper pipe sizing to prevent restriction.
High-Performance and Racing Applications
Racing engines with dry sump systems use external oil tanks and multiple scavenge pumps, creating complex oil pipe networks. These systems may circulate 3-4 times the oil volume of conventional wet sump engines. All lines must be secured with safety wire at critical connections, and fire-resistant materials are mandatory. Quick-disconnect fittings enable rapid service but must be properly rated for oil pressure and temperature.
Hybrid and Electric Vehicle Range Extenders
Small displacement range-extender engines in plug-in hybrids often operate intermittently with frequent thermal cycling. This duty cycle accelerates rubber degradation through repeated expansion and contraction. These applications benefit from premium synthetic rubber compounds or braided lines that tolerate thermal cycling better than standard hoses.
Troubleshooting Common Oil Pressure Issues
Oil pressure problems often trace back to low-pressure pipe issues. Systematic diagnosis identifies the root cause efficiently.
Low Pressure at Idle Only
When oil pressure drops below 10 psi at idle but recovers at higher RPM, possible causes include worn bearings, low oil level, or partially collapsed pickup tube. However, a restriction in the pump supply line can create similar symptoms. Check the pickup screen for debris and inspect the pickup-to-pump line for internal collapse or kinking, particularly on high-mileage engines exceeding 200,000 miles.
Pressure Loss Under Acceleration
Oil pressure dropping during hard acceleration or cornering suggests oil starvation from sloshing in the pan or a loose pickup tube. External lines are rarely the cause unless they're severely restricted. However, check that return lines from the valve cover or turbo aren't restricted, as this can create vacuum in the sump and cavitate the pump.
Intermittent Pressure Fluctuations
Erratic pressure gauge readings may indicate a failing pressure sensor or wiring issue rather than actual pressure problems. Install a mechanical gauge to verify actual pressure before replacing pipes or pumps. If mechanical gauge confirms fluctuations, inspect for loose connections at pipe joints that allow air ingestion into the system.
High Pressure Readings
Consistently high pressure above 80-90 psi suggests a stuck pressure relief valve or extremely thick oil. However, a restricted return line from the relief valve can prevent proper bypass function. Check that return lines are clear and not kinked. Using incorrect oil viscosity, particularly in cold weather, can also elevate pressure until the engine warms.